


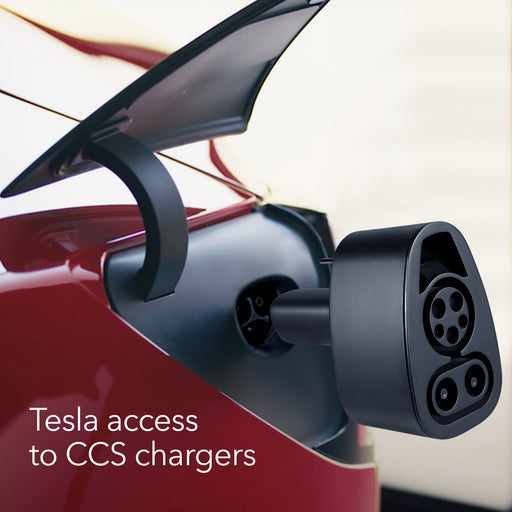


What does Tesla NACS mean?
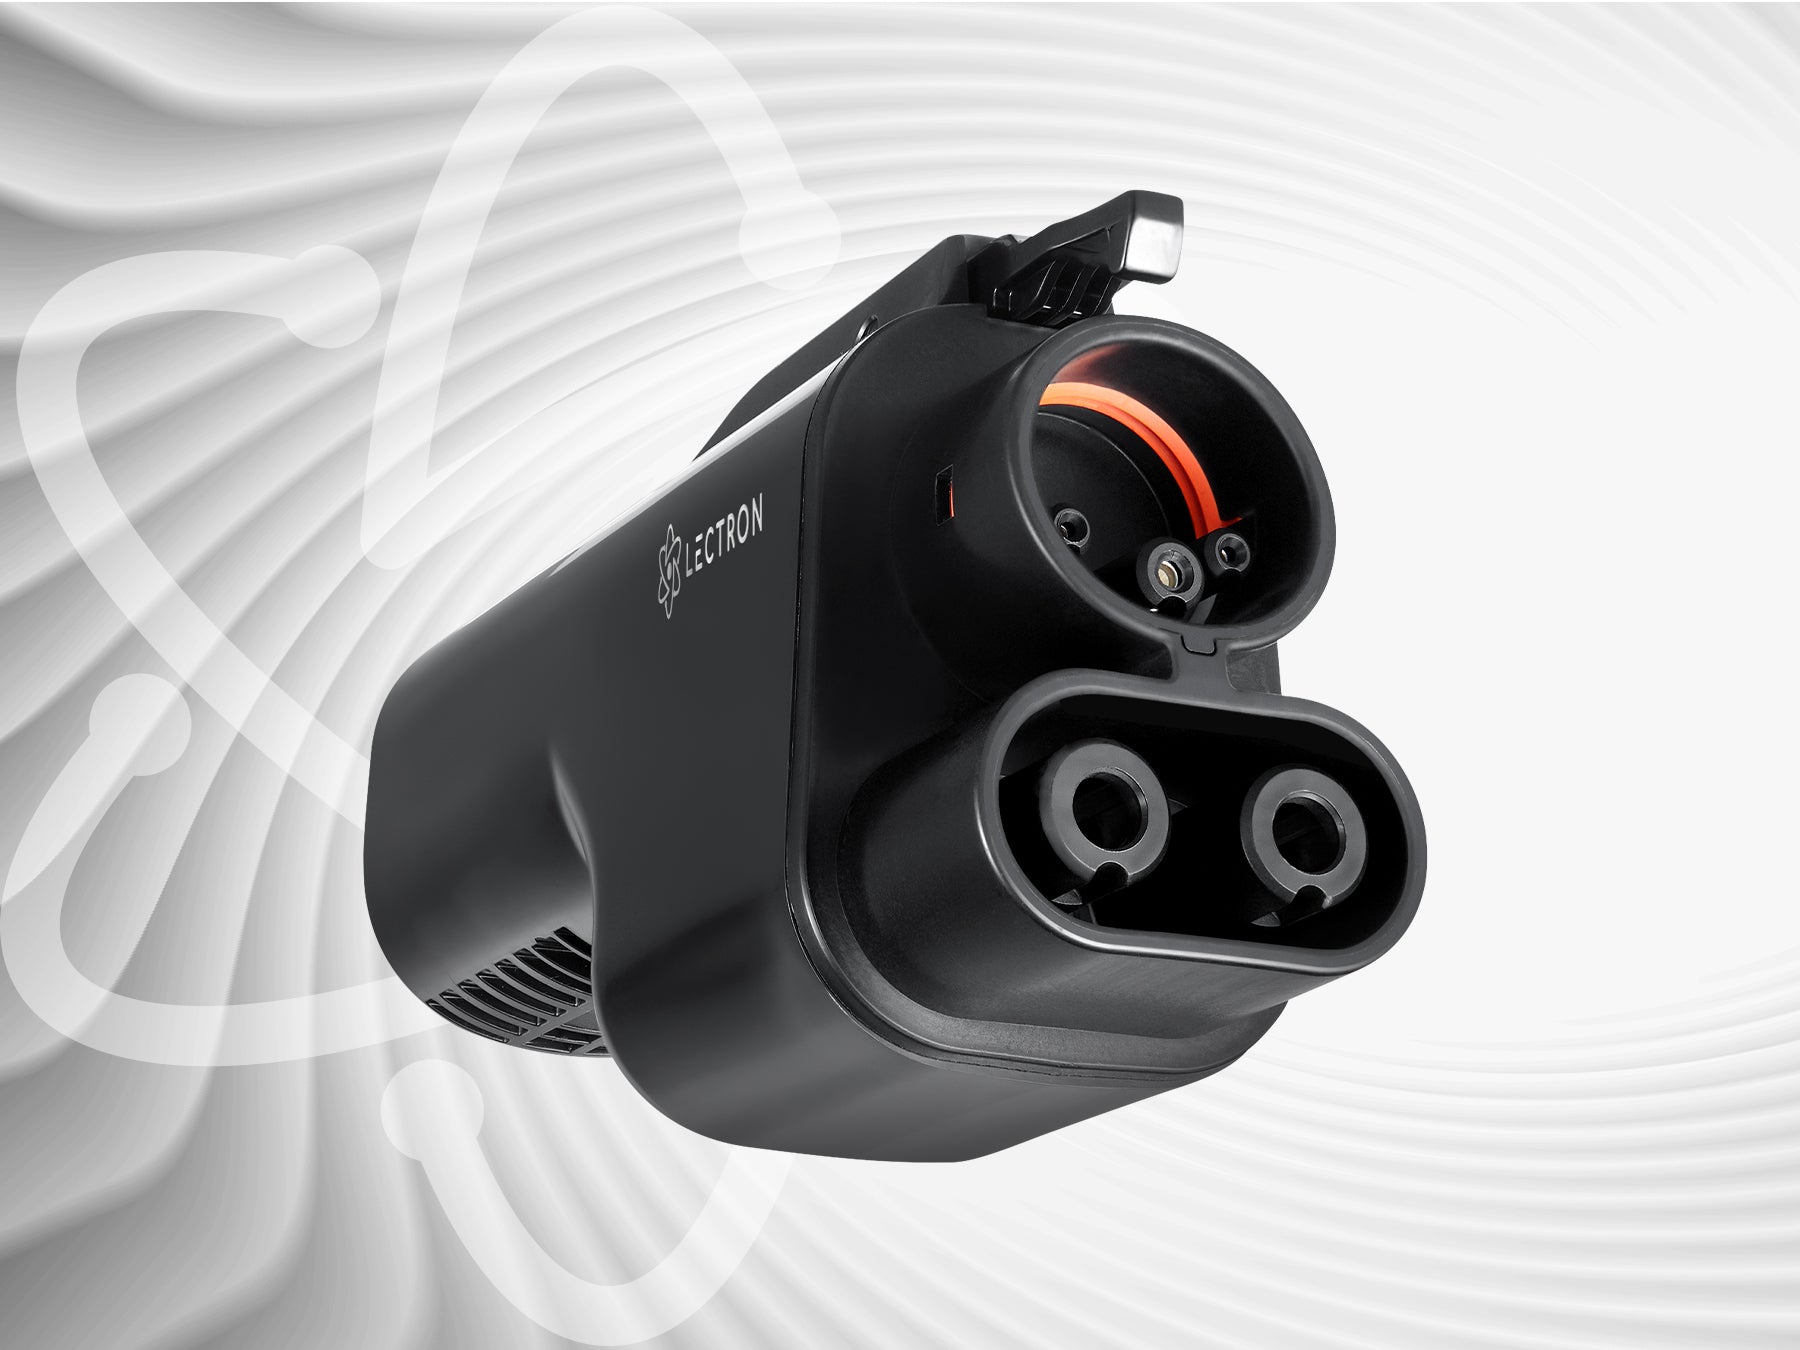
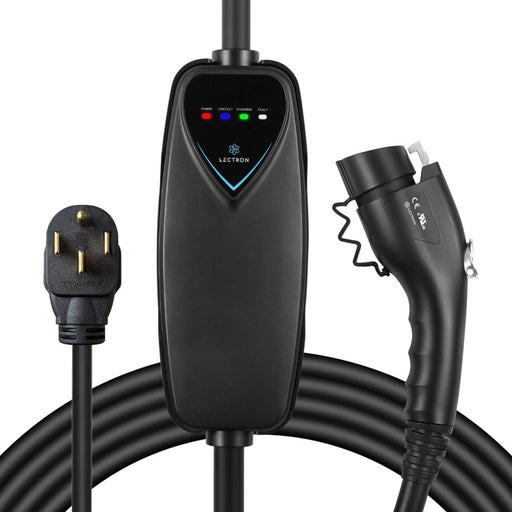
The North American Charging Standard (NACS), alternatively referred to as the Tesla charging standard or the Tesla Supercharger network, is a charging connector system developed by Tesla Motors. Despite common assumptions, the NACS differs from Tesla's current connectors; it's more...